Alright folks, many, many people have been asking for this and it’s finally here: my StudioBricks booth.
Expect quite a few pictures!
You can find another post about why I chose StudioBricks over other sound booth products on my blog.
For this post, I’m discussing the process of putting it together in a two-part series.
Ready?
Warning: I am NOT a sound professional. Everything in this post and the next one are based on lots and lots and LOTS of research as well as input from colleagues and professionals in audio.
Ok, when I ordered my StudioBricks booth I was very careful to choose a triple-wall studio pro. So, to begin, I analyzed the most quiet space in my house or apartment.
Was there lots of traffic outside? Lawnmowers? Planes flying overhead? Those are situations that can’t be controlled, unfortunately, so now and then I’ll just have to wait them out. Thankfully most are distant and occasional; however, it did no good treating my space for recording because of a 60 Hz hum in my walls, which is common in older houses. It interfered heavily with my recordings, and was very difficult to edit. Over time the hum increased and I got tired of seeing my wave files distorted. That led me to the decision to get a sound booth.
While some clients are ok with booths, some are not and have expressed frustration with editing audio from sound booths. I’ve determined that if my space still isn’t good enough for a client then I’ll have to go to a professional studio. So far, I don’t think that’ll be the case.
After choosing my area I had to measure where I’d build the booth and be super precise with what I wanted. The ceiling height is important in this as well when putting the booth together, literally piece by piece. If too low it would be a problem. Thankfully my room has a slanted ceiling which I’ve been told is a good thing. I ordered a 5 x 6 x 7 foot booth in size with the purpose of having a good amount of space to stand, sit, or move. Experts in audio told me NOT to get a booth that was squared, so I went with something more rectangular. When I sought advice from fellow VO talent who also owned a StudioBricks most suggested a triple wall to be safe. As since I can’t predict where I’ll be in the future (new house in the suburbs, new apartment in a busy part of town, etc.) I decided to get the triple wall.
I sent in my order feeling good about my decision and waited 3 months for delivery. Originally it was suggested the time frame would only be 2 months. However, when it came time to ship the goods from Spain, the port dock workers had gone on strike and thus delayed my order for another month.
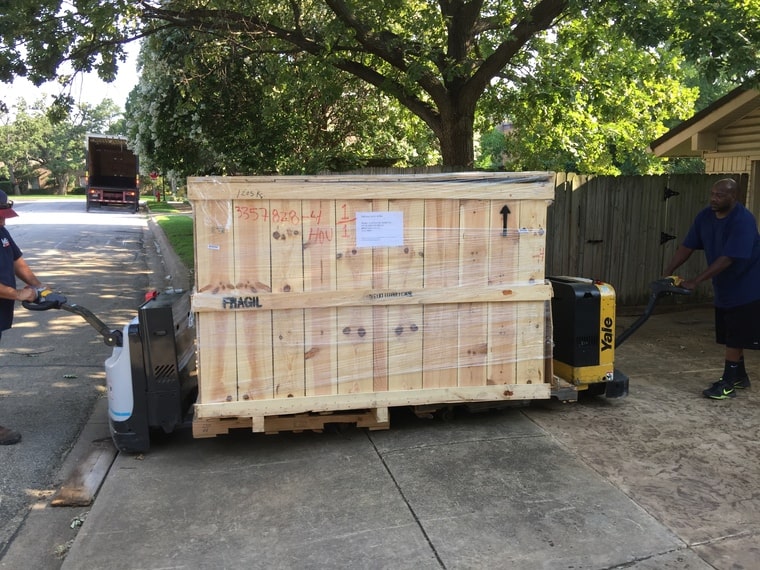
During a vacation to Lake Tahoe with my boyfriend, I received news that the booth had arrived at my house in a massive crate the size of a van. Here’s a picture to prove it.
I was prepared for this monster of a box and had planned weeks ahead to have the garage cleared out so we could store it in a safe place. After getting home and adjusting back to my routine, it was time to put it together.

My brother and my boyfriend were my helpers in this for the first round (that’s right, I’ll explain later).
My brother determined that my chosen space wasn’t adequate due to the ceiling height. So, we chose a different side where the slanted ceiling went upwards. Boy was that a WISE idea!
Next was the first phase: The floor
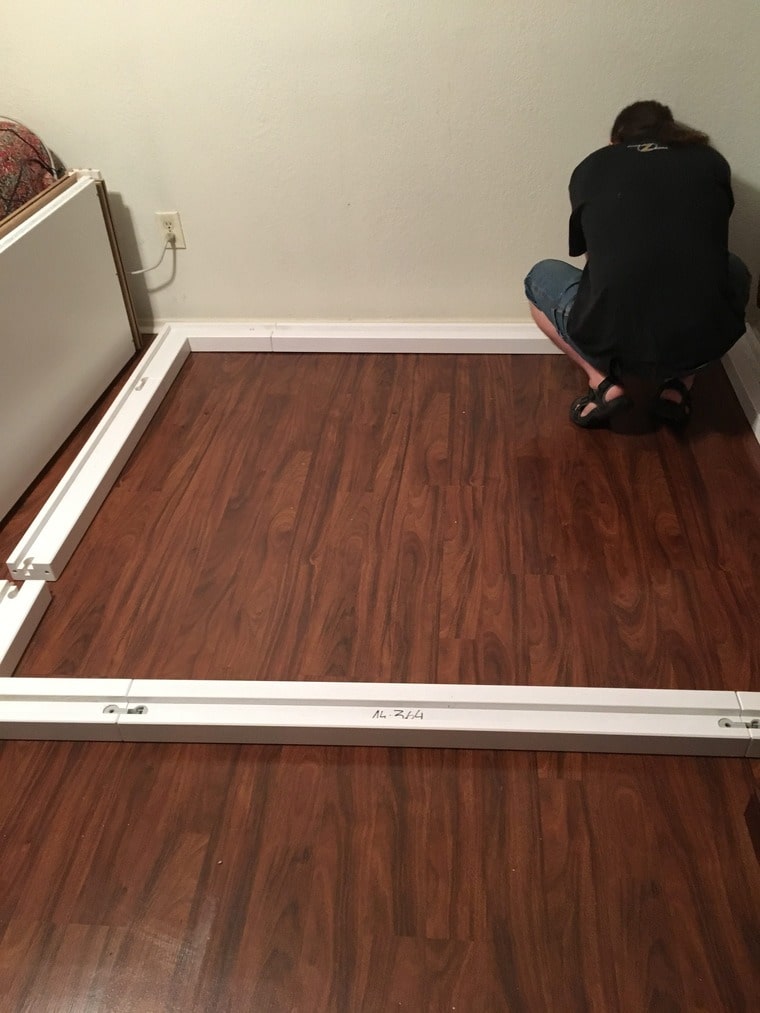
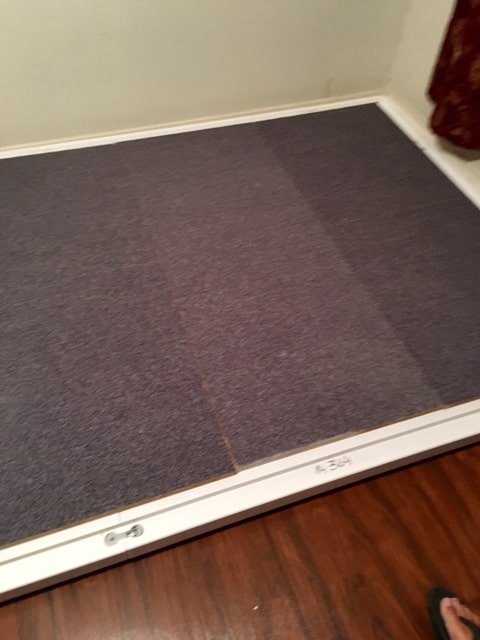
I have wooden floors instead of carpet so I had no need for holders. The booth came with adjustable feet to hold the outer frame together. So, we put together the outer layers so as to put the floor boards on top of them. That’s when the excitement came along of how easy it was to place everything together.


The bottom section of the booth was marked with letters and numbers: the A section, the B section, the C section and the D section. We began with putting A1 through A5 on first. There was no need for screws or nails. The pieces fit like giant Legos (but are called bricks) and held together by use of wooden staffs in corners and in between spaces on top so that other pieces could fit on top of them. It took the gentle use of a rubber mallet to ensure the staffs were fitted in place. Then came the B section, which we assembled by repeating the same process for the A section.


After that came the part that everyone owner of a StudioBricks booth warned me about: The dreaded door. Some of my colleagues have glass doors, but I chose to have a wooden door. Whichever one you go with know this: it will be HEAVY! Do NOT handle this piece on your own, mine weighed 175 pounds. It took my brother, my boyfriend, my father and me to get it out of the crate, then carried into the house, to my room, and finally to secure it onto the booth. At that moment, I realized what a blessing it was to live in a one-story house. And if I ever decide to get an apartment, it’ll have to be on the first floor.

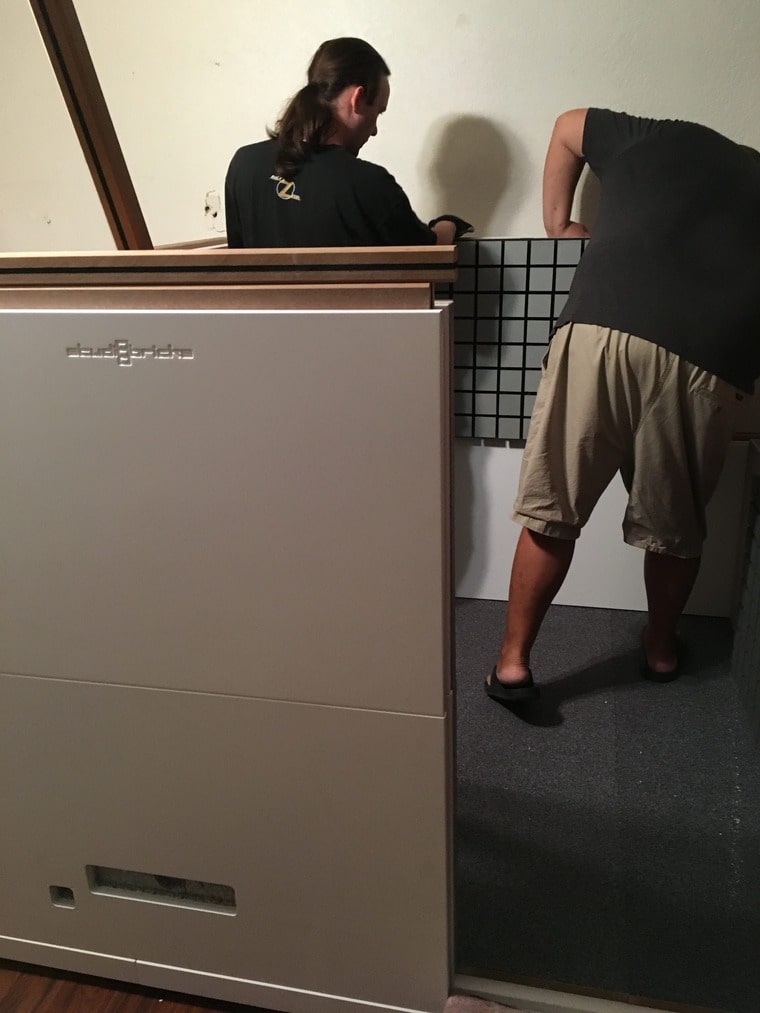
With the door in place it was time to add the sections marked with letter C and how many pieces came with it.
Then, we discovered that there weren’t enough wooden beams to keep the C pieces locked in place. That delayed building the rest of the booth for a week in a half.
The folks at StudioBricks were extremely helpful and rushed not one but two extra wooden beams just in case.
When they arrived my brother and my boyfriend added the final section marked as D which was mainly the top walls and ceiling parts. By this time the worst was out of the way, meaning the leftover pieces weren’t as heavy.
So, depending on your strength, expect most pieces to have dense structure. It’s not recommended whatsoever to put this together on your own.
Once done. It looked MARVELOUS! As you can imagine, I couldn’t wait to get in there to record samples and auditions.
However… something was wrong. And because of this detail, we had to take it apart piece by piece and put the entire thing back together again!!!!!!!!
To find out what was wrong and how we fixed it, stay tuned for part 2!
